You’ve read about the benefits of weighted blankets, and want to try these out. But you’re not keen on spending upwards of $100 or $200 on a single blanket -- so you’ve decided to make a DIY weighted blanket instead.
In this weighted blanket tutorial, we walk you through how to make your own weighted blanket, plus discuss some of the pitfalls of these blankets that you should avoid.
Alright, let’s get started!
Making a DIY Weighted Blanket: Tools and Supplies
Before we get started making your DIY weighted blanket, assemble all your tools and supplies, and make sure you’ve got everything you need.
Tools:
- Kitchen scale
- Sewing machine
- Scissors
- Measuring tape
- Ruler
- Pins
- Tailor’s chalk
Supplies:
- Stuffing for blanket
- Fabric for blanket
- Thread
Calculating the Size of Your DIY Weighted Blanket
To determine how much fabric you need to purchase, first consider how large you want your DIY weighted blanket to be.
Note that your blanket doesn't need to be as large as the existing quilt or comforter that you’re using. As long as it covers you (and has a little space to spare), that’s fine.

If you want your blanket to be portable, you might even opt to DIY a blanket that’s on the smaller side -- this will make transporting your blanket more manageable.
Once you’ve decided on the size of your weighted blanket, determine how large you want each pocket (that’s filled with weighted stuffing) to be.
Your blanket will be made up of multiple pockets, with each pocket containing a small amount of stuffing -- this way, the weight will be evenly distributed, and the stuffing won’t shift from one side of the blanket to the other even if you shift around while you sleep.
Most folks opt for pockets that are anywhere from 3 to 5 inches. The smaller your pockets are, the more evenly distributed the weight will be. That said, blankets with smaller pockets take a longer time to construct, because you’re doing more sewing.

Once you’ve decided the size of your pockets, do some math to arrive at the confirmed size of your weighted blanket. This should be a multiple of the size of the pockets, with an added buffer of 4 inches.
For instance, say I decided that I want my blanket to be 38” wide and 60” long, and that my pockets should be 4”.
Width calculations: 4” x 9 = 36” + 4 = 40”
Length calculations: 4” x 14 = 56” + 4 = 60”
Using this pocket size, my length works out nicely to be 60”, but my final width is 40”, so those are my final measurements -- 40” x 60”.
You’ll need fabric for the front and back of the weighted blanket, so you’ll want to purchase two 40” x 60” pieces of fabric. If you’re new to sewing, and you think you might make some mistakes, get even more cloth so that you have room for error.
As for what sort of fabric you should get, popular fabrics for weighted blankets include cotton, flannel, fleece, minky.
Calculating the Weight of Your DIY Weighted Blanket
Next, let’s calculate the weight of your blanket (and determine what stuffing to use).
As a general rule of thumb, weighted blankets should be about 10% of a person's body weight, so go ahead and do the math.

Next, convert the weight that you get into ounces, and divide it by the number of pocket in your blanket. This tells you how much weight should be in each pocket.
If you’re making a weighted blanket for someone who’s 130 lbs, here’s how your calculations would look like:
130 lbs x 10% = 13 lbs
13 lbs → 208 oz
Total number of pockets = 9 x 14 = 126 (from previous example)
Weight per pocket = 126 / 208 = 0.61 oz
To find out the amount of stuffing that needs to go into each square, use your kitchen scale.
For DIY weighted blankets, we recommend using non-toxic plastic poly pellets with a high melting point. While craft stores sometimes stock these, it’s easier (and cheaper) to purchase them on Amazon.
When you’re purchasing your plastic poly pellets, be sure to buy from a listing that specifically states that the pellets are non-toxic, and washer and dryer safe.
For most washing machines, the hot water setting works out to 130 degrees Fahrenheit, so if the pellets you’re purchasing has a melting point of, say, 300 or 400 degrees, you can safely wash your DIY blanket in the washing machine.
IMPORTANT: Some DIY blogs will tell you that you can use “organic” stuffers such as buckwheat, sand, hulled crop grains, etc.
It might be tempting to go down this route (especially if you’re trying to save money), but these stuffings aren’t really suitable for weighted blankets.
Why do we say so? Well, organic material such as buckwheat and sand expand when they come into contact with water, and this makes it difficult for you to wash a weighted blanket stuffed with these fillings.
In fact, if you try and wash a weighted blanket out of buckwheat, your blanket will probably start rotting and emitting a pungent odor. You definitely don’t want that to happen!
DIY Weighted Blanket Tutorial
Now that you’ve got all your tools and supplies assembled, we’ll walk you through how to create your very own DIY weighted blanket using TheSpruceCraft’s tutorial.
Step 1: Sew the Two Sides of the Blanket Together
Using your chalk, make a mark 2 inches inwards from each side of your fabric. From there, trace out the grid of your pockets, based on the pocket size that you calculated.
Image via TheSpruceCrafts.
Next, sew the front and back of the blanket with the right sides together, leaving just the top open. Aim for a 3/8" seam allowance here.
Turn the blanket so that the right sides are facing out, and open the seams. Sew a topstitch 1/4" from the edge, starting and leaving a short distance from the open side.
Measure 2 inches in from the open side, and start sewing along the marked lines that were 2 inches from the fabric edge. Use a backstitch at the beginning and at the end to hold your stitches in place, and sew along the two long sides and the bottom.
Step 2: Sew the Vertical Channels for the Stuffing
Using the lines you’ve traced out as a reference, sew the vertical channels that will contain your plastic poly pellets.
Image via TheSpruceCrafts.
From the closed bottom edge, start sewing just over the line of stitching that's 2 inches from the inner topstitching. Once you reach the line that you’ve traced out at the top, end the stitch with a backstitch.
Step 3: Fill the Channels with Pellets
Place the right amount of pellets in each vertical channel, and carefully shake the beads so that they roll down to the bottom.
Image via TheSpruceCrafts.
As you’re working, feel your blanket periodically for stray beads, and push any that you find down the blanket as well.
Step 4: Continue Sewing to Create Your Pockets
Before you start sewing, pin your fabric to hold the pellets in place, and keep them away from where you’ll be sewing. If you accidentally sew over a pellet, this is likely to break your needle.
Image via TheSpruceCrafts.
Next, sew a horizontal line on the marked line, and backstitch at the beginning and end.
While you sew, support the weight of the blanket so that it doesn't pull and stretch out your blanket. Keep filling each vertical channel and sewing, until all your pockets are done.
Step 5: Sew Your Blanket Closed
At the top of the blanket, fold the edges of the open side in, and use a topstitch to sew your blanket closed.
Image via TheSpruceCrafts.
Make sure that your topstitch overlaps slightly with the inner topstitching.
Weighted Blanket DIY: is it Worth it?
Considering the time and effort it’ll take, and the price of your supplies, most people find that making a DIY weighted blanket just isn’t worth it.
With your supplies, for instance, a 10 to 20 lb bag of plastic poly pellets alone will set you back by US$30 to US$40.
Once you account for the cost of your fabric, and the tools that you might not have handy at home, you might be spending close to US$100.
On top of that, you’ll also want to take into consideration the time that you’re spending on making your DIY weighted blanket.
If you’re a seasoned pro at sewing, you might be able to complete your blanket in 4 hours or so (that’s not factoring in time spent researching, purchasing supplies, etc).
But if you’re not the craftsy type, and you haven’t done any sewing projects before, then you might spend double or triple that time on your blanket, and you’ll probably have to deal with mishaps along the way. (Broken needles, sewing machine jams, etc).
So, if you don’t want to buy a weighted blanket (because you don’t know if it’ll actually work for you), but you can’t realistically make your own DIY blanket, what do you do?
Here’s the solution: purchase a weighted blanket from a brand that offers a money back guarantee -- this way, you can test out the blanket with zero risk.

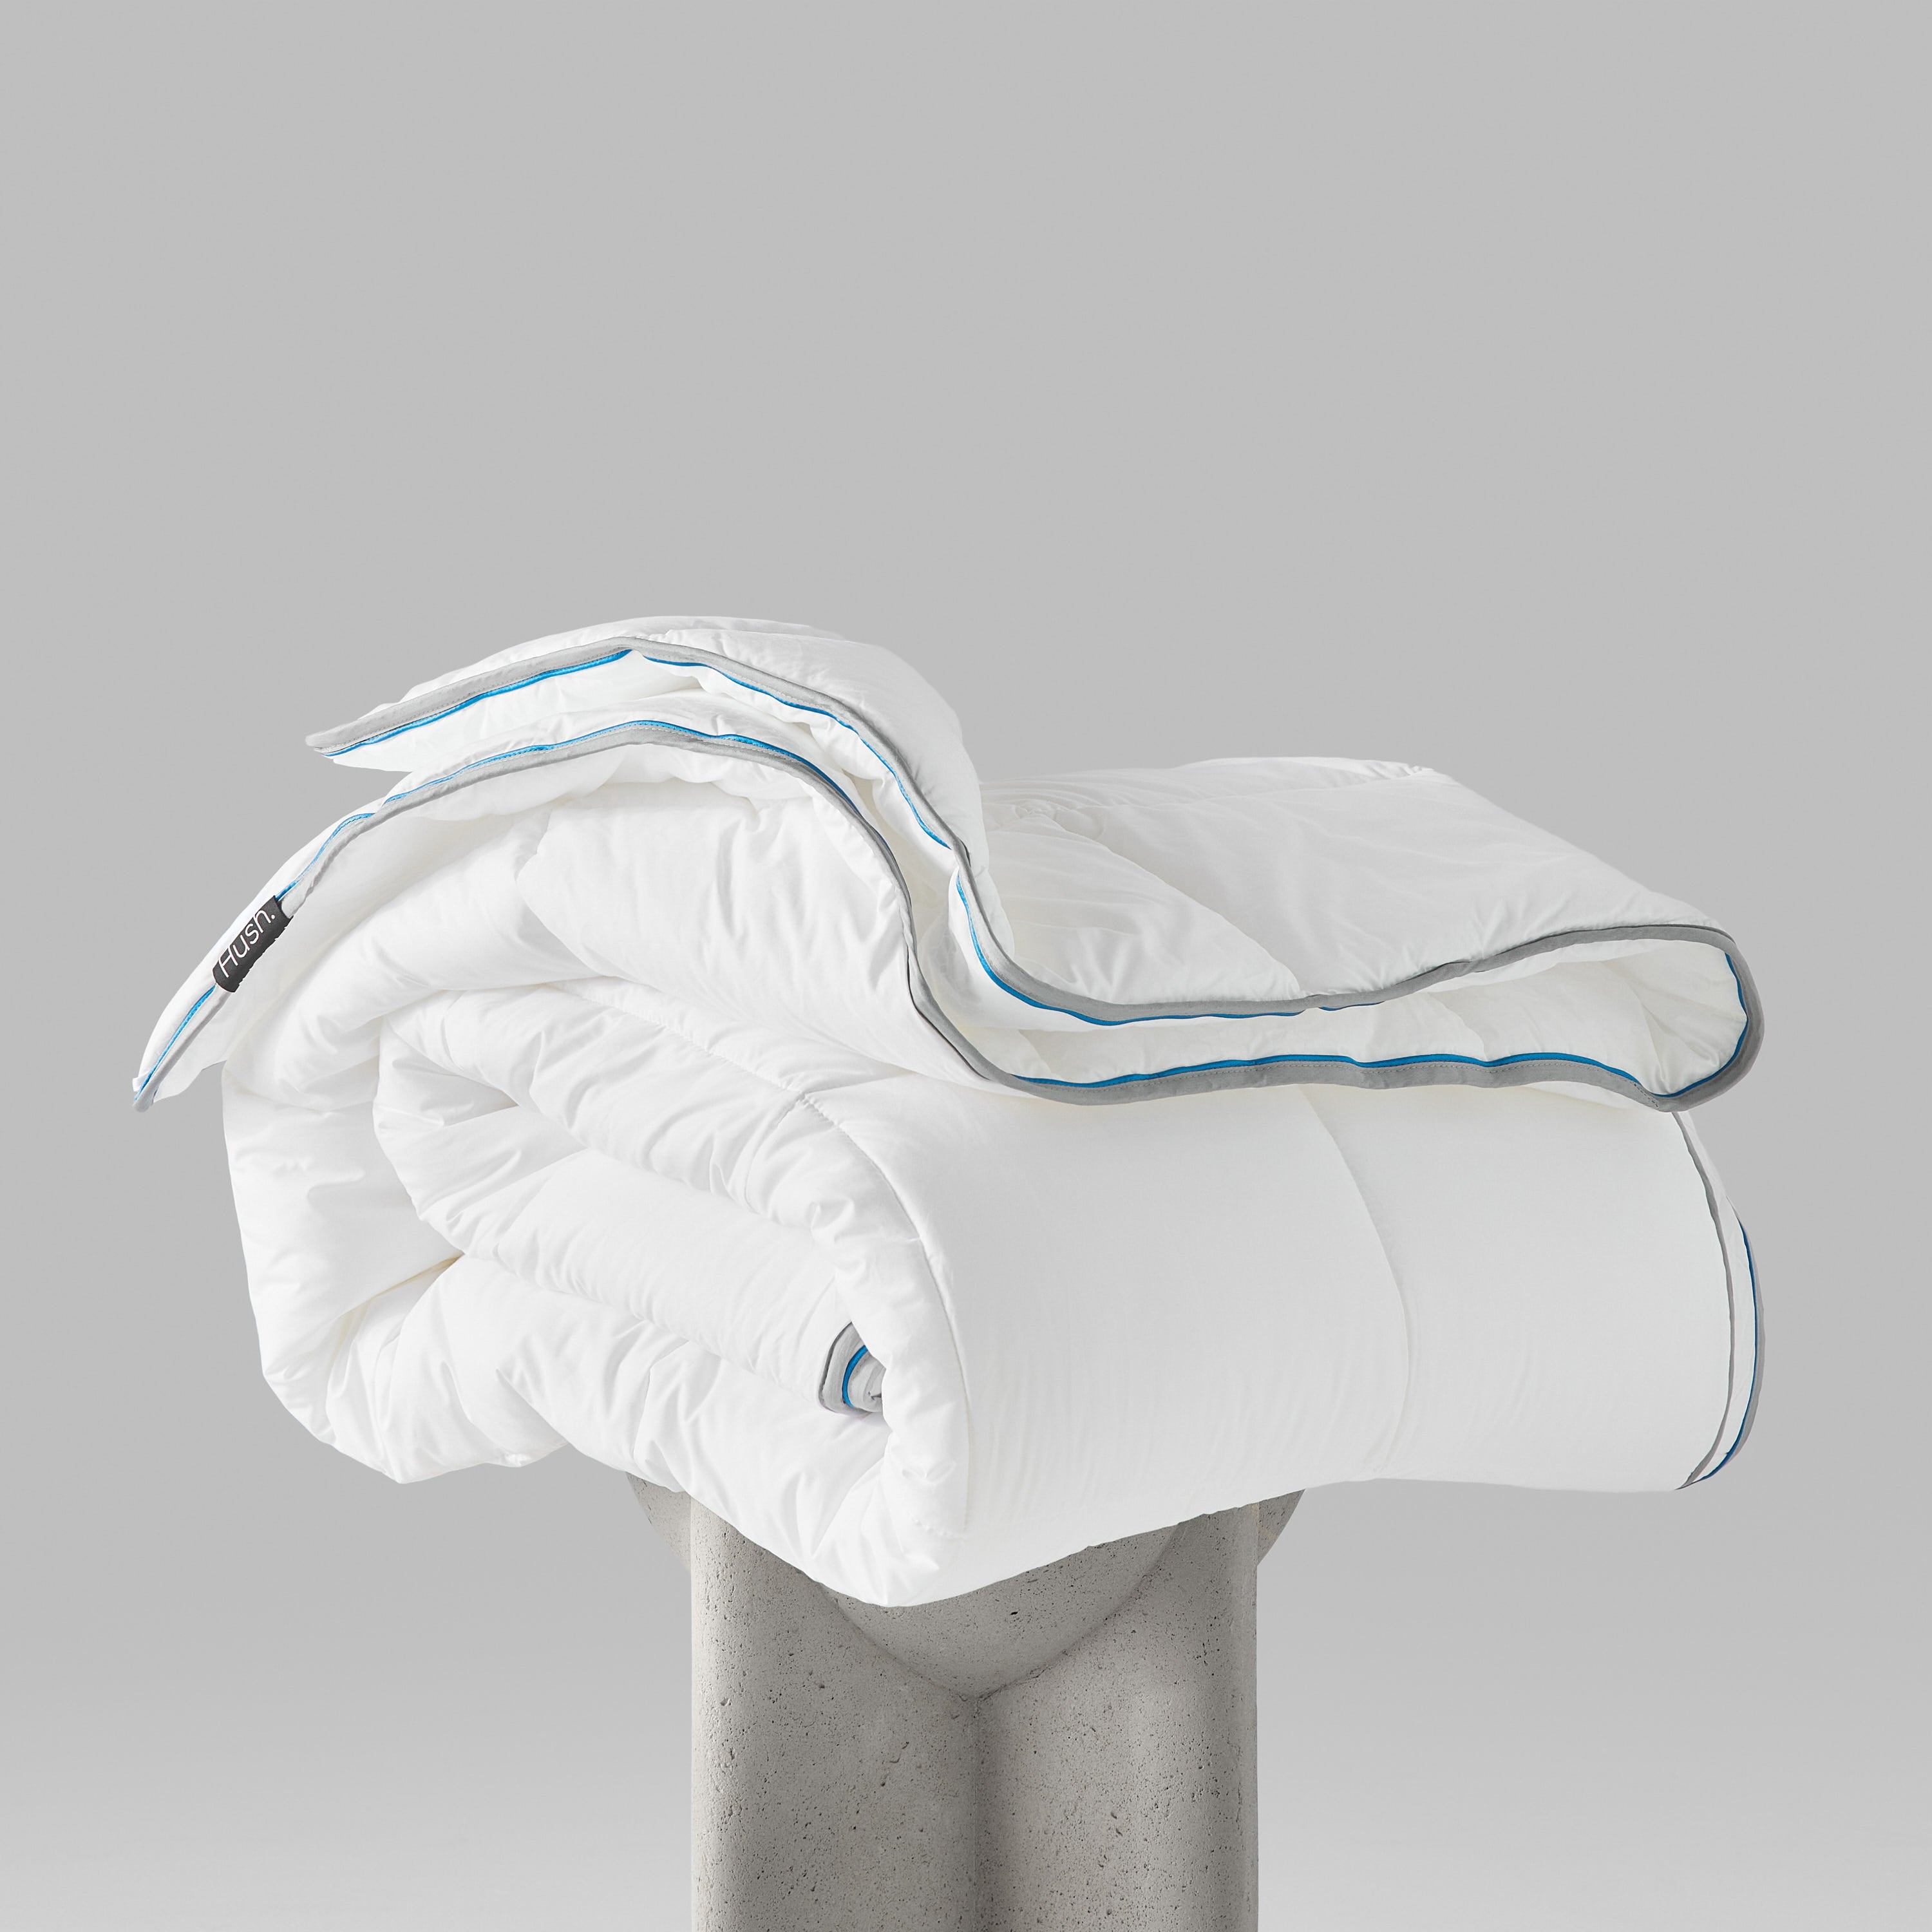
Here at Hush Blanket, we offer an awesome 100 Night Guarantee for all our customers.
This basically means that you’re free to try out our blanket for 100 nights, and if you’re not satisfied with it, we’ll process a full refund for you (INCLUSIVE of shipping fees).
If the weighted blanket does live up to all the amazing things that you hear about these blankets (and it will, trust us!), then it’s money well spent.
If it doesn’t, no matter -- you can always return it, and you won’t have spent a single cent.
Click here to get your very own Hush Blanket, and experience the magic for yourself.


